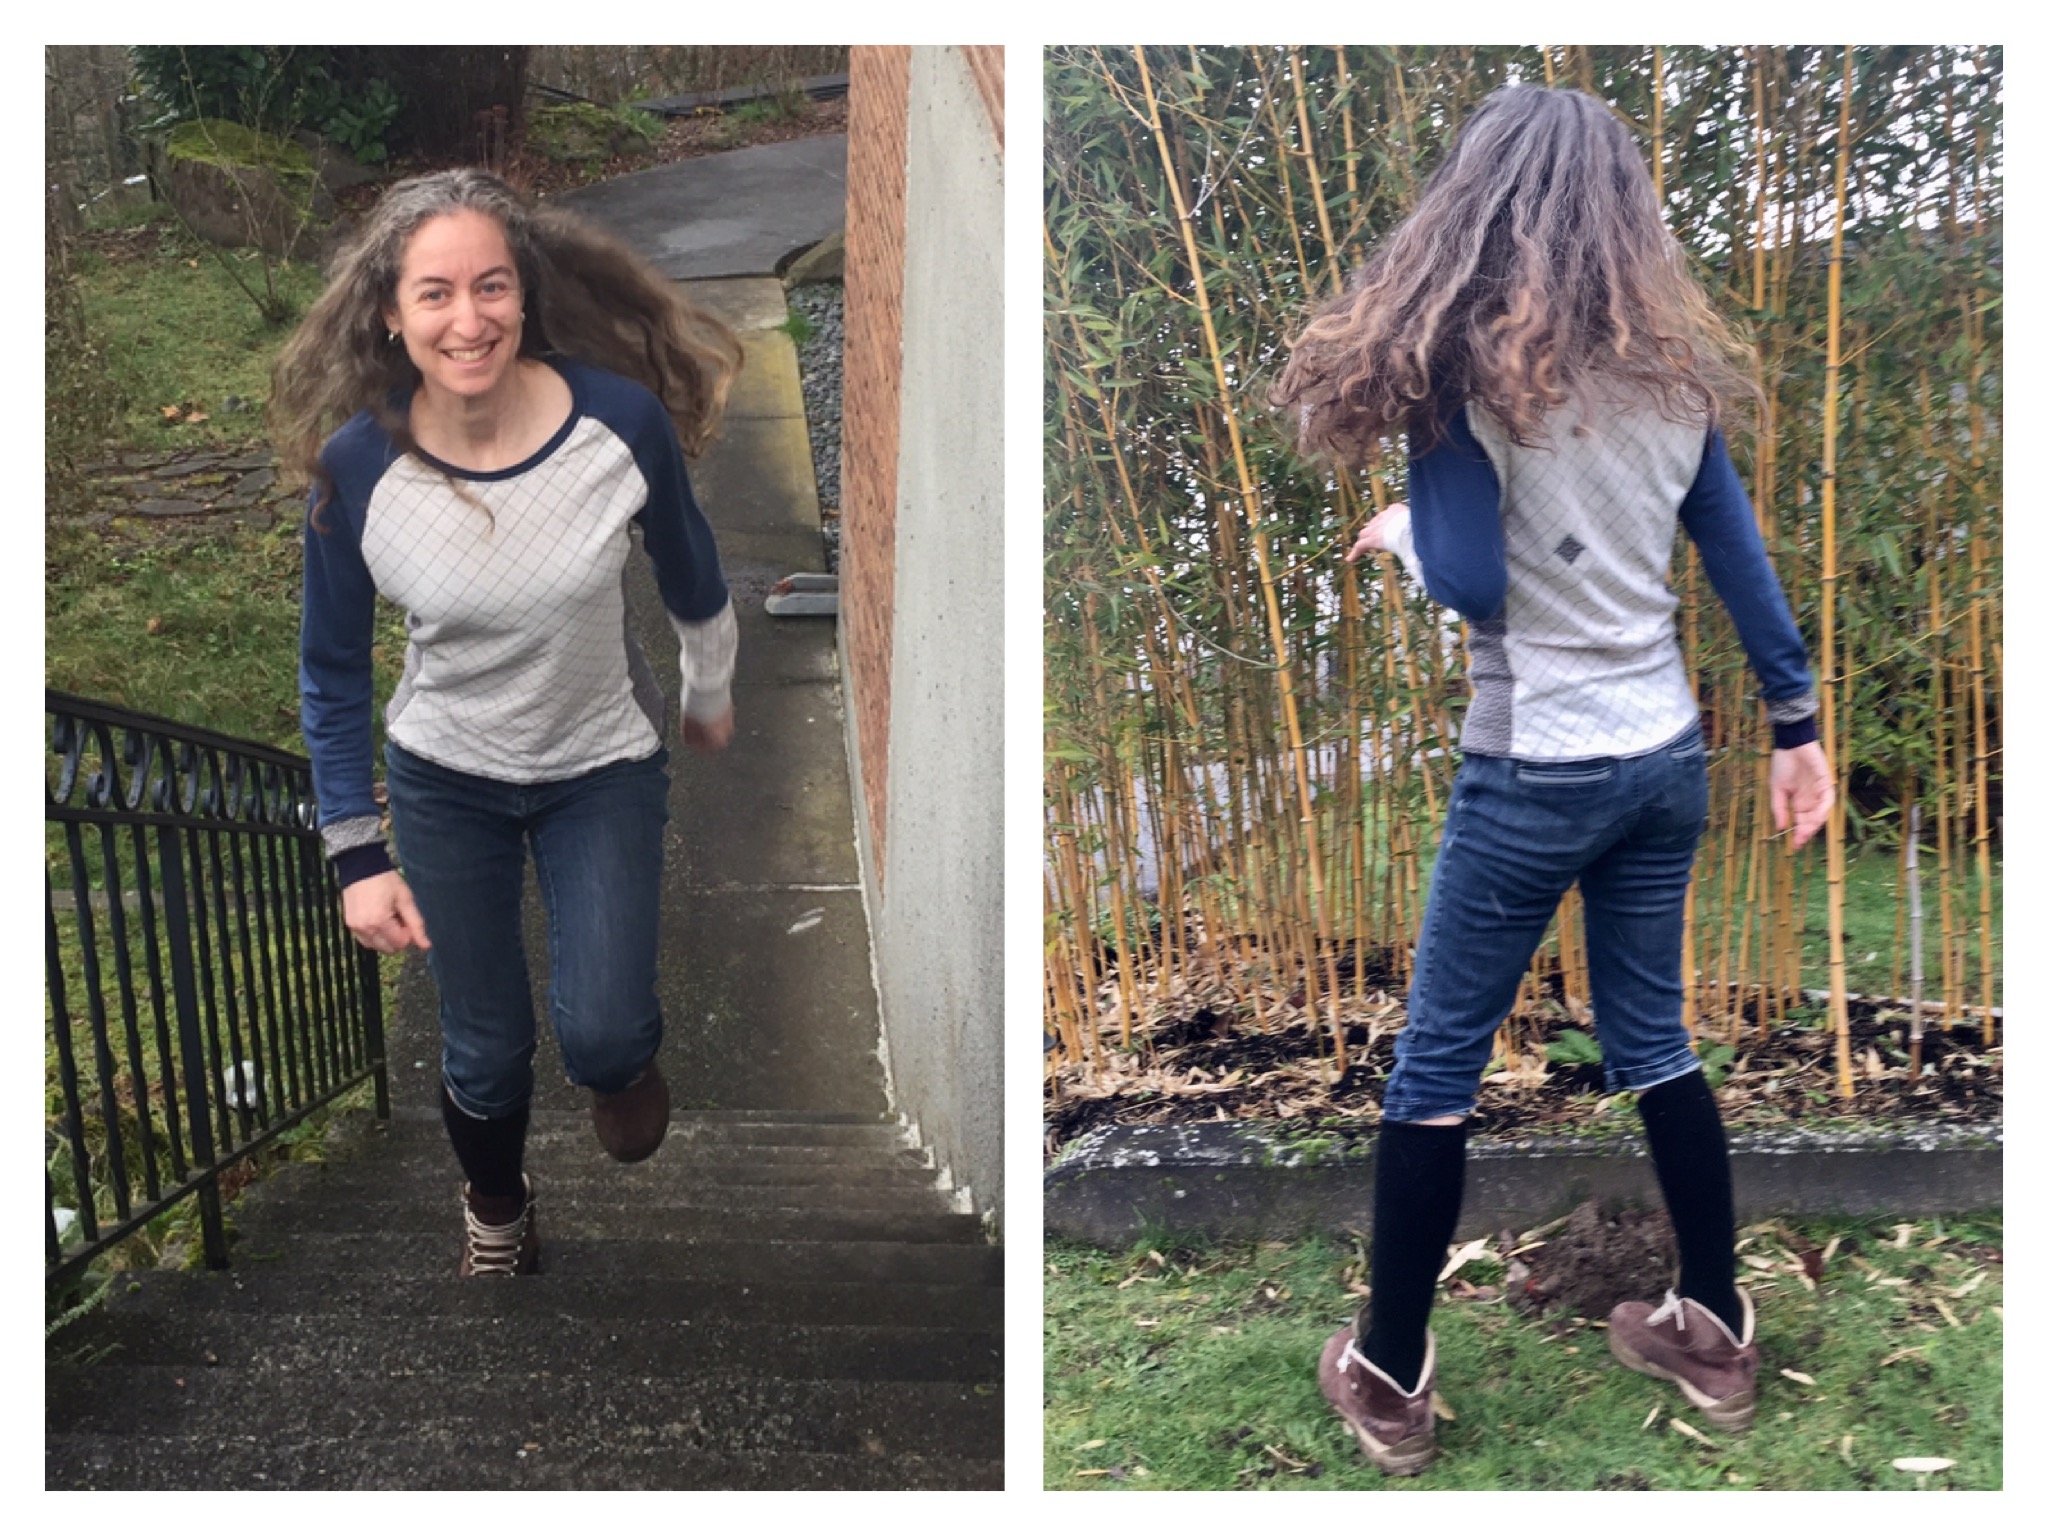
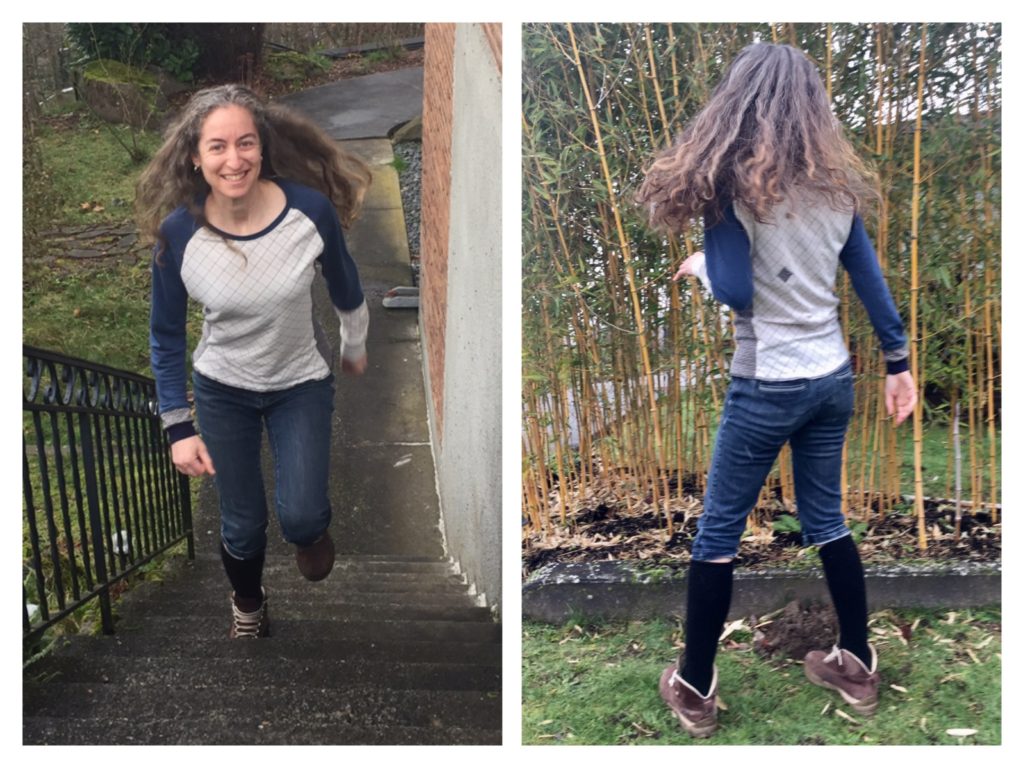
After a year of making shirts on the fly, I am finally ready to document the process. My approach to clothing design is somewhat improvisational. I much prefer working with used, thrifted clothing instead of yardage because if the fabric only cost me $3, there’s much less pressure to make it perfect. Flaws are part of the process and can even end up making the garment amazing.
For this shirt I knew I wanted to use my tried-and-true bike jersey pattern. I originally adapted it from a $30 nylon bike jersey that I bought specifically for reverse-engineering. Over the past year I have made ten shirts using this pattern, and the dimensions are refined to the point where I’m pretty happy with the fit. I also now have an official sewing room with plenty of space to hang source garments in the closet. It makes a huge difference for me to be able to see and easily layer fabrics among each other without throwing my whole workspace into chaos.
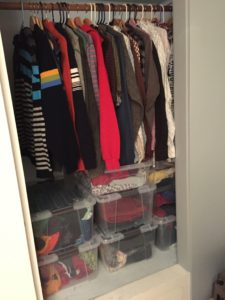
It was December 30, and I wanted to dig really deep, using fabric from a very early thrifting haul. Oftentimes, I’ll buy a shirt, thinking the fabric is really cool, but never find a way to actually use it. I decided to start with this shirt that has always vexed me.

No matter how this would end up looking, the first order of business was butchering the shirt. This process is mindless and quick, and requires only a rotary cutter and mat.


During the dismemberment process, I encountered a tiny stain. It figures, the first light colored shirt I decide to use happens to be soiled!


The next order of business was to lay out the largest pieces of fabric and assess how the pattern pieces will be cut.

Immediately I decided to see if tilting the fabric 45 degrees would yield me enough fabric, because sometimes being biased is just more visually interesting.


One thing about changing your source garment from regular to biased is that you will likely not have enough fabric unless you are quite petite. But this is where fabric scraps come in. I was able to repair the corners with some of the scraps. I didn’t care that the pinstripes didn’t perfectly line up, because that would hinder my progress and kill my momentum. Perfection is overrated.
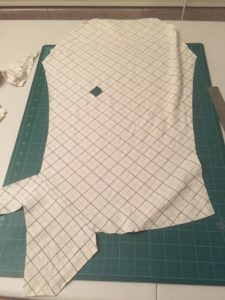
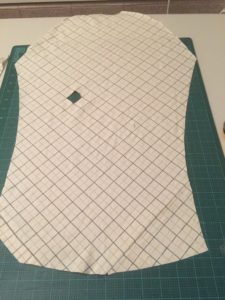

The front and back pieces were nearly ready .


By now I was starting to have a better vision of how the body of the shirt would look and feel. And I was getting really excited about choosing fabrics for the sleeves and side panels. How about these shirts? The first was fully intact at the time of this project. The second was used for another two shirts six months before and all that remained of its splendor was a single sleeve.
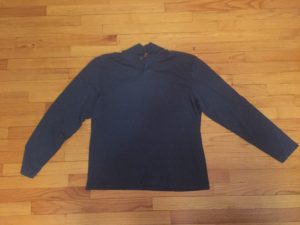
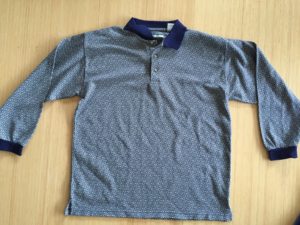
I like to lay the first pattern pieces down with possible coordinating fabrics. For the past year, I did this crouched on the floor amid a towering pile of shirts. With my new sewing room, the process is much more civilized.

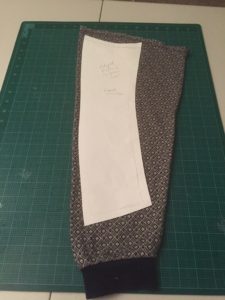
Ok, it was time to dismember old Brandini.
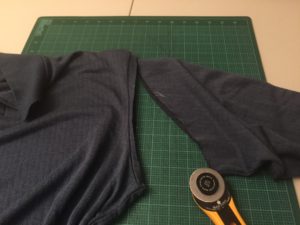
At this point I want to correct one assumption people sometimes make, that the sleeves of the old shirt will go on the new shirt. First, this would be impossible since the original sleeves are set-in and the new sleeves are raglan. Instead I believe wholeheartedly in converting the fronts of source garments into raglan sleeves because I have a much greater chance for a continuous piece of fabric. In some cases, the back of the shirt will yield plenty, but the pesky front placket will get in the way for the front. At times I have incorporated the placket into the wrist portion of the new sleeve for a nice bonus feature. Sometimes the thickness of the placket can interfere with the sewing of the seams, so in this case I opted to just go with a shorter left sleeve and extend it creatively.


I used my serger to sew on the sleeve extensions, and used my regular machine to do some details.

Next came another exciting part: Sewing the first four pieces together. First I made sure to pin the pieces so everything lined up right. Because both fabrics had a similar amount of ease, this was…easy.
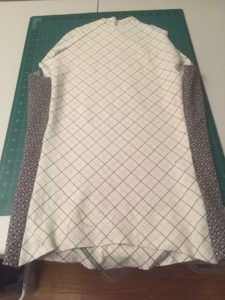
Now it was time to serge the sleeve seams (sorry, I forgot to picture this step) and pin them right sides together to the arm holes. This took some time because gaps are bad. If there are gaps, I un-pin and rework the fabric until it’s sitting just right.

One of the most exciting, yet scary parts is serging the sleeves to the arm holes. One common catastrophe is that the fabric gets bunched up underneath and the serger blade eats it. Ask me how I know! Fortunately I only made that mistake once in 2016.
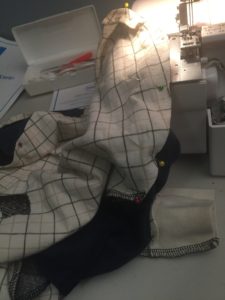
Once I was done serging on the second sleeve, I could resume breathing again. It’s so exciting to finally have the shirt take shape!
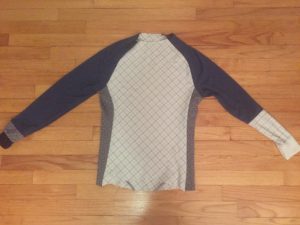
Next, I determined that I wanted a crew neck, which would require some ribbing. How fortunate that the original Brandini shirt had a nice wide ribbed polo collar that I could make use of. But first I had to clean up the neck line.
My pattern is not 100% precise for the neck area. Whether I happen to mis-measure, mis-cut, or mis-ease, you can be sure that at this point, the neck lays rather sloppily. But it’s usually fine, and can be remedied with a steady hand and the rotary cutter. In this case, the neck was too high so I set about opening it up a little.
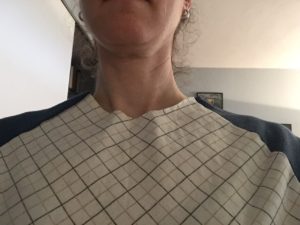

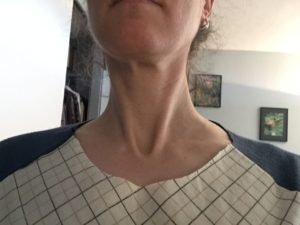


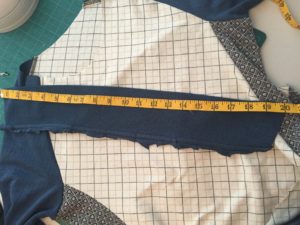

I sewed the ribbing into a ring using my regular sewing machine.
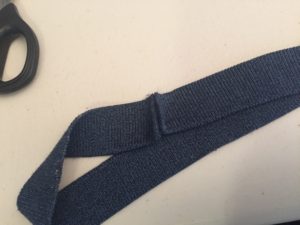
At this point, I was ready to pin the neck band to the neck. It’s important to stretch the band in between each pin, so that the band is evenly spaced around the neck hole. If you don’t stretch the band enough, then the crew neck doesn’t lay flat. Ask me how I know! I’ve learned that as long as there isn’t any puckering in the final product, it’s much better to over-stretch than under-stretch the ribbing. Fortunately that would never be an issue with this shirt because the band was nearly one inch shorter than it should have been, so I had to stretch it more than usual to fit the neck hole, and stretch the thing quite tight as I ran it through the serger.


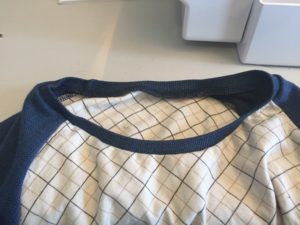
Now for some finish work.


After completing the finish work, I tried the shirt on one last time, and immediately decided it was my new favorite shirt. Time for a photoshoot.
