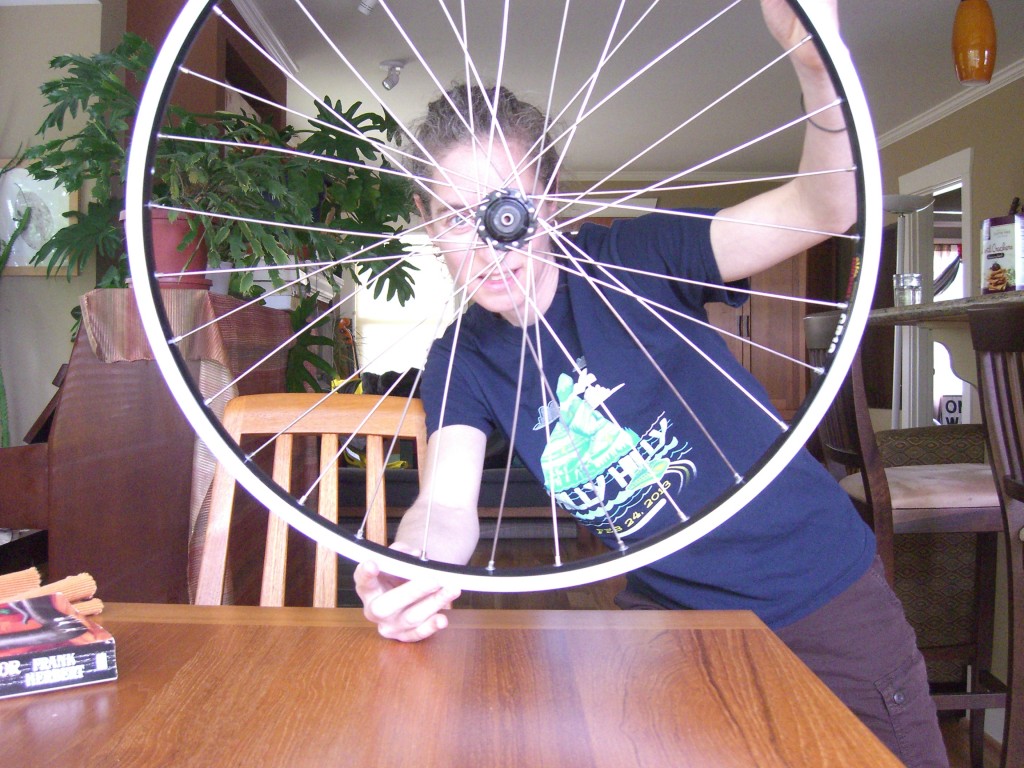
Wheelbuilding may be something that only .001% of people do, but it doesn’t have to be that way. I think everyone who likes methodical, spatial tasks would enjoy it, and I am pleased with how my first pair turned out. I did learn many things in the process:
- You can find some nice old hubs in the bins at Bikeworks and Recycled Cycles, but you never know what you’re going to find when you open them up and overhaul them. It’s best to choose a used hub that spins really nicely to begin with, because if you buy a grindy hub, you could open it up to find a heavily pitted cone, which brings me to my next piece of advice.
- If you buy a used hub, try to find one that is labeled clearly with the brand and model name/number. This way, you can at least do an online search for replacement cones or axles if you need them. If you have a no-name hub, then this could be nearly impossible. Old cones are often very hard to match.
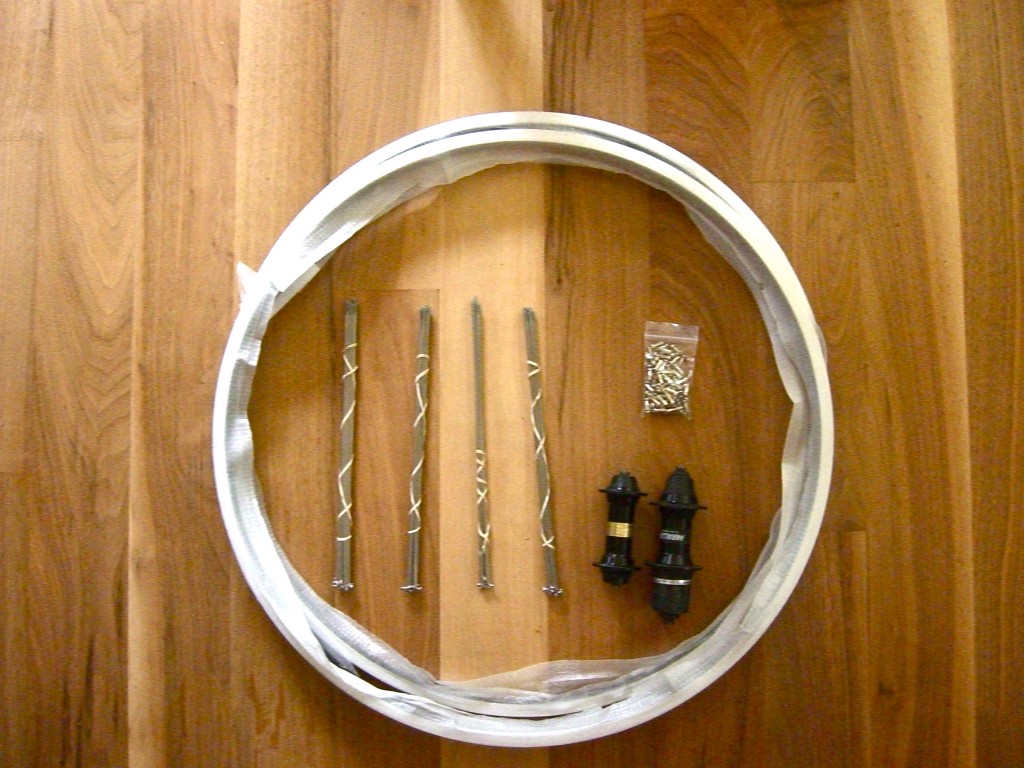
- When doing your spoke length measurements, it should NOT take 3 hours, as it did in my first wheelbuilding class. That sort of traumatized me, thinking of how arduous it would be to figure it all out myself when it came time to do it alone. Fortunately, I bought some decent calipers, and already knew the ERD (Effective Rim Distance) from the rim manufacturer. (Sun Ringlé) I used the spoke length calculator at UBI (http://www.bikeschool.com/tools/spoke-length-calculator) and it only took 10 minutes.
- When my 64 spokes arrived from Universal Cycles a few days later, I was overjoyed, and pleased at the 4 neat bundles. HOWEVER, I found out only after I had half the spokes laced into the rim that the spokes were not grouped by length. I still have no idea what the bundles corresponded to. The horror! I was dealing with 3 different lengths for two wheels, 266mm, 267mm, and 269mm, so you can imagine my dismay (and ensuing ire) when I realized I had made the wrong assumption, and had to unlace every single spoke (deforming many of them) and re-measure all 68 of them. And yes, the invoice made no mention of the 4 extra spokes (for good measure) so this was even more confusing.
- Once I had the right spokes for each side of each wheel, (and my temper back under control) the lacing went surprisingly fast. It took less than an hour to get one wheel up to a good starting tension. The rear wheel went even faster. The lacing pattern was not difficult, as I used the excellent guide that Bikeworks had put together, which was based on Sheldon Brown’s method. I feel that I could improve upon it still by drawing some diagrams.
- While the lacing part took place as I squatted un-ergonomically on my living room rug, the rest took place in my garage. Now that I have a truing stand, dish tool, and spoke tensiometer, I can make many more wheels without leaving home.
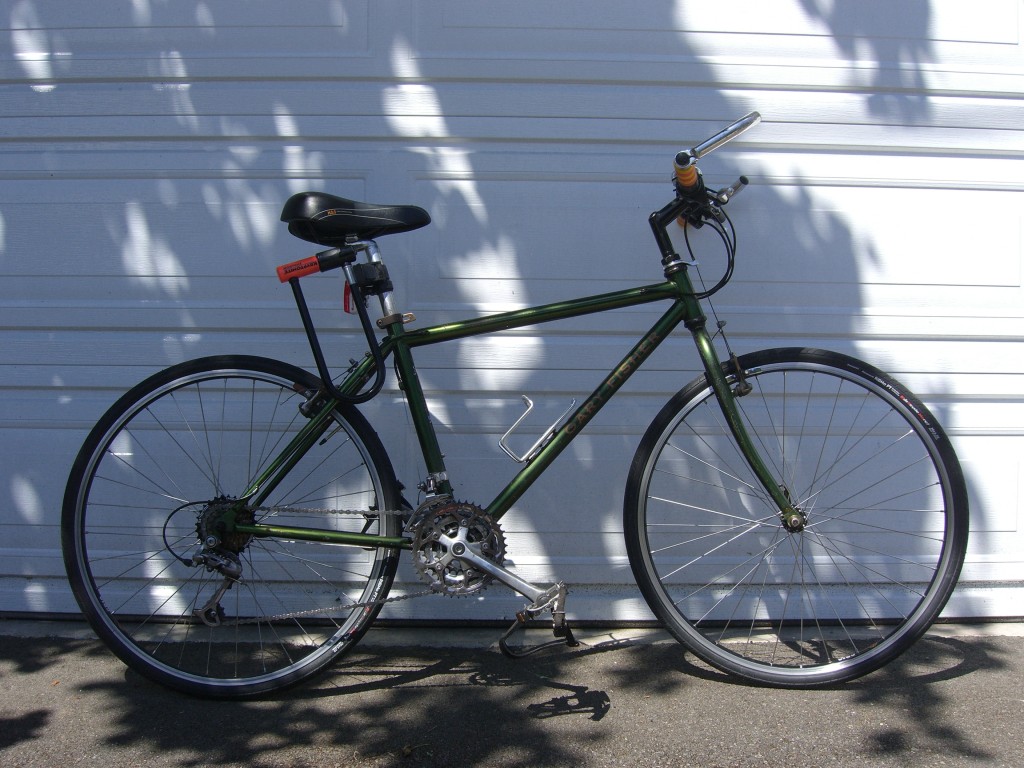
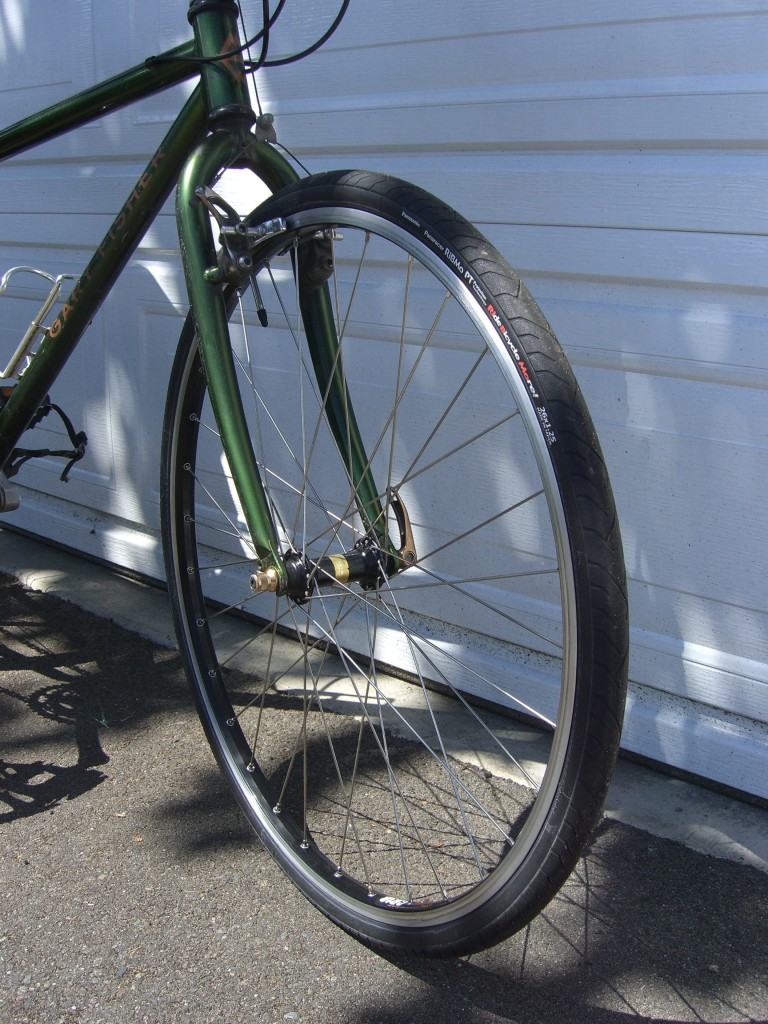
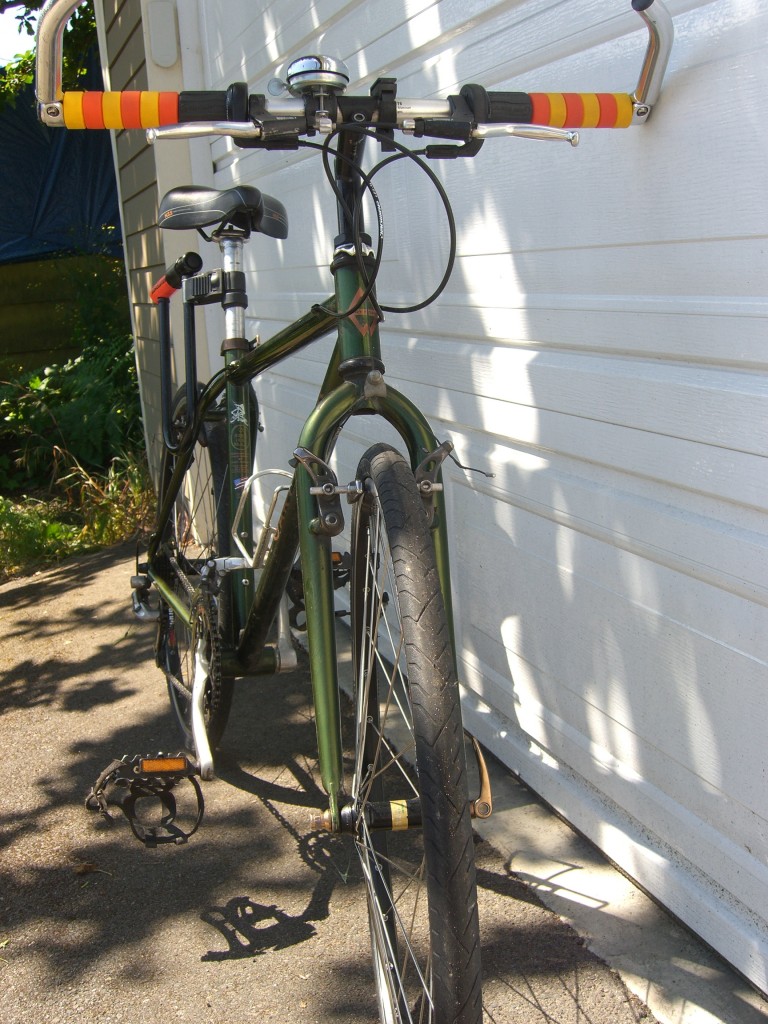
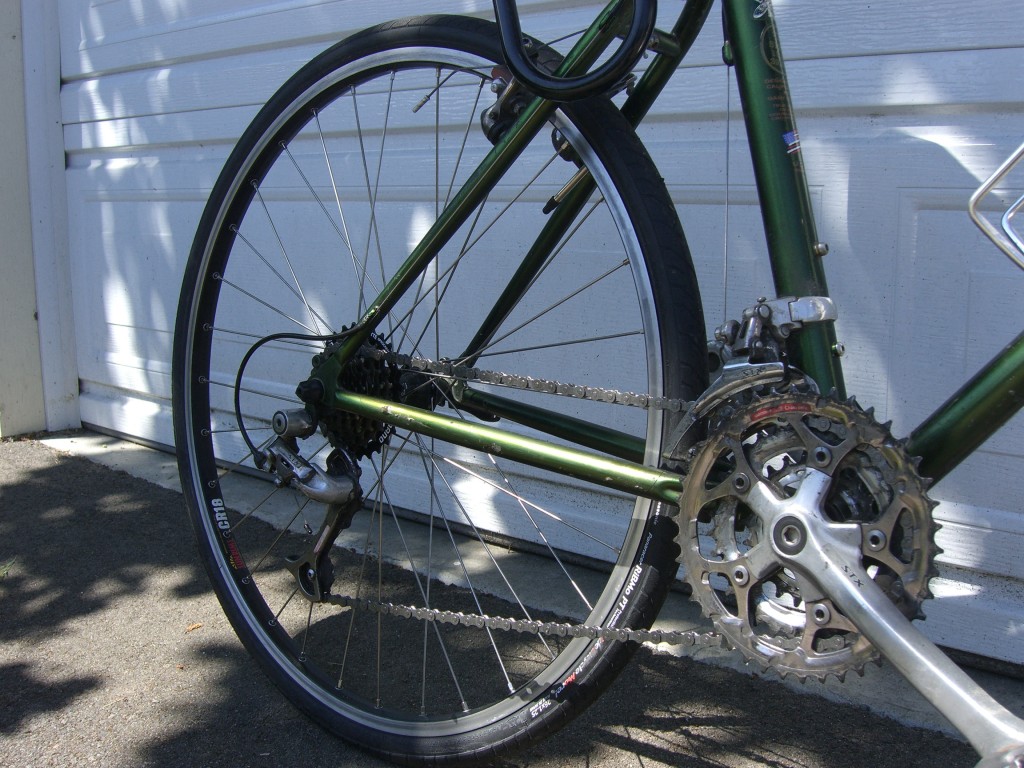
- I decided to put Panaracer Ribmo tires on these wheels, (so pointy!) and to also use this opportunity to completely renovate my trusty Gary Fisher’s drivetrain with a new chain, cassette, cables and housing. Those final steps went very fast, thanks to all the Bikeworks volunteer time I’ve been putting in.
- One interesting note: Since my grip shifters were 7 speed, I wanted to find 7 speed hubs, but those were nearly impossible to find in the parts bins. Everything is at least 8 speed now. No problem, though, I picked up a 2mm spacer that sits right under the cassette and had no problems whatsoever getting the drivetrain aligned properly.
- When you’ve waited nearly 15 years to overhaul your wheels/drivetrain, the results are simply astonishing! Even more than replacing the bottom bracket, this improvement makes the bike feel completely new again. So smooth!
